
From the garden
Collecting seeds from dry iris pods
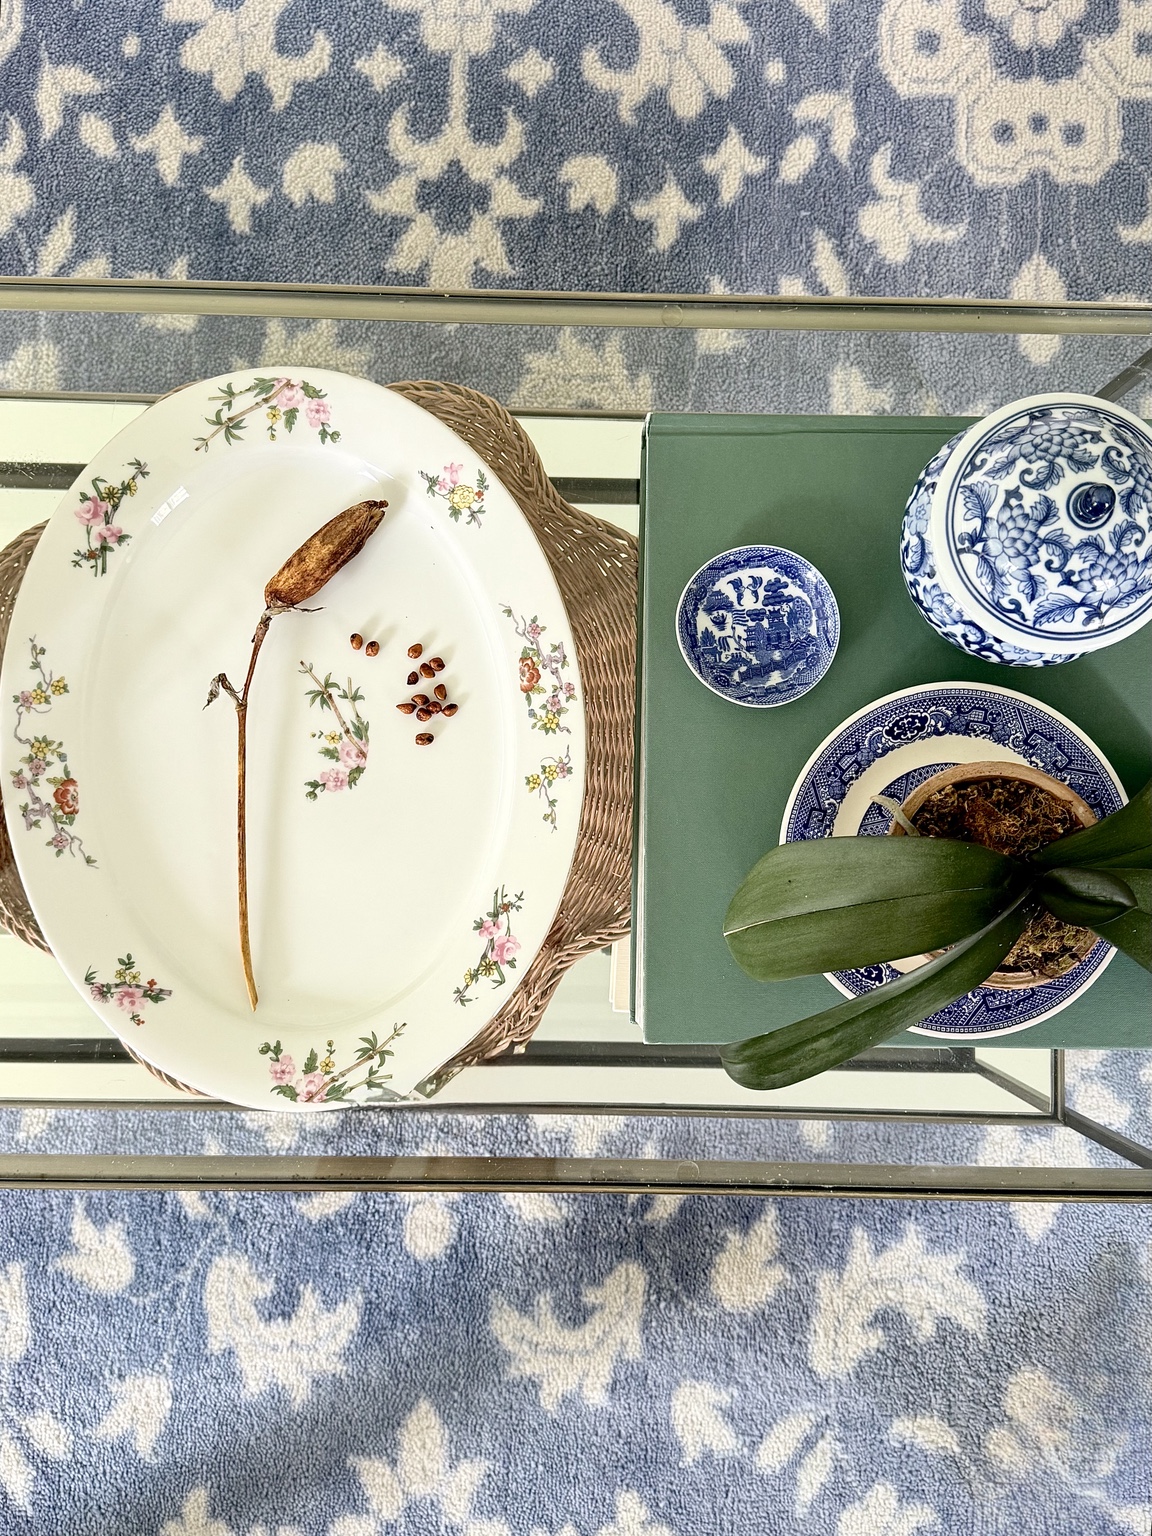
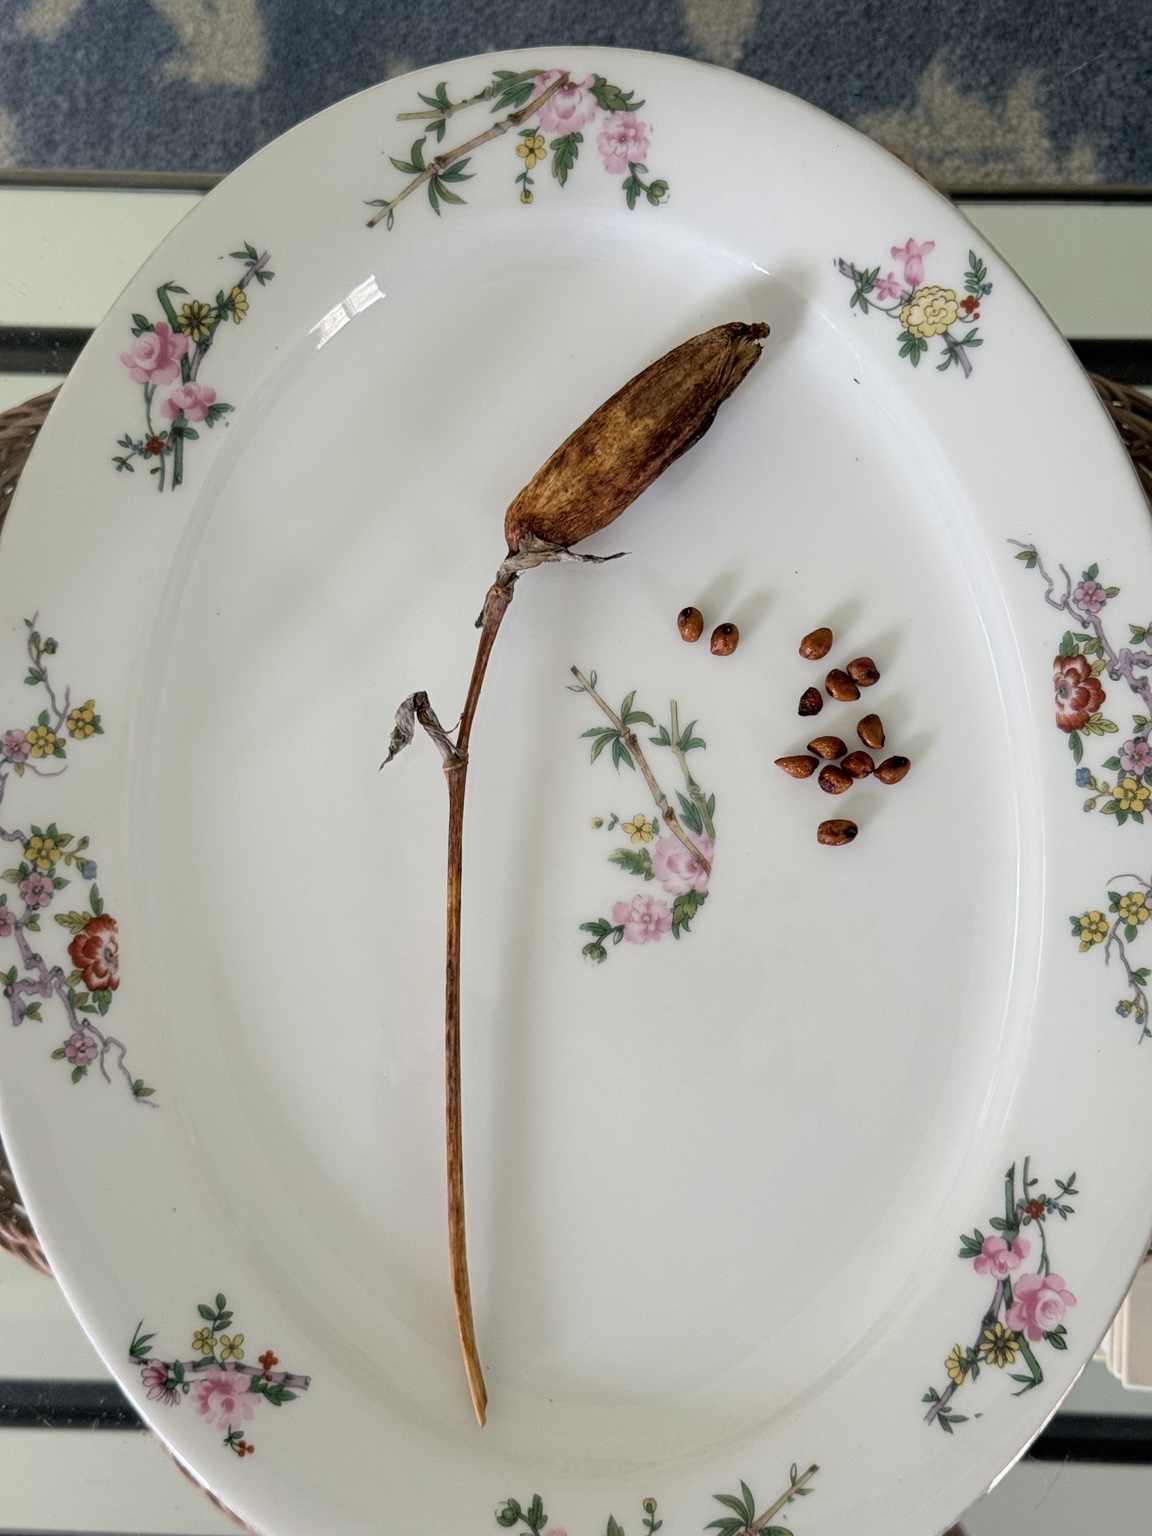
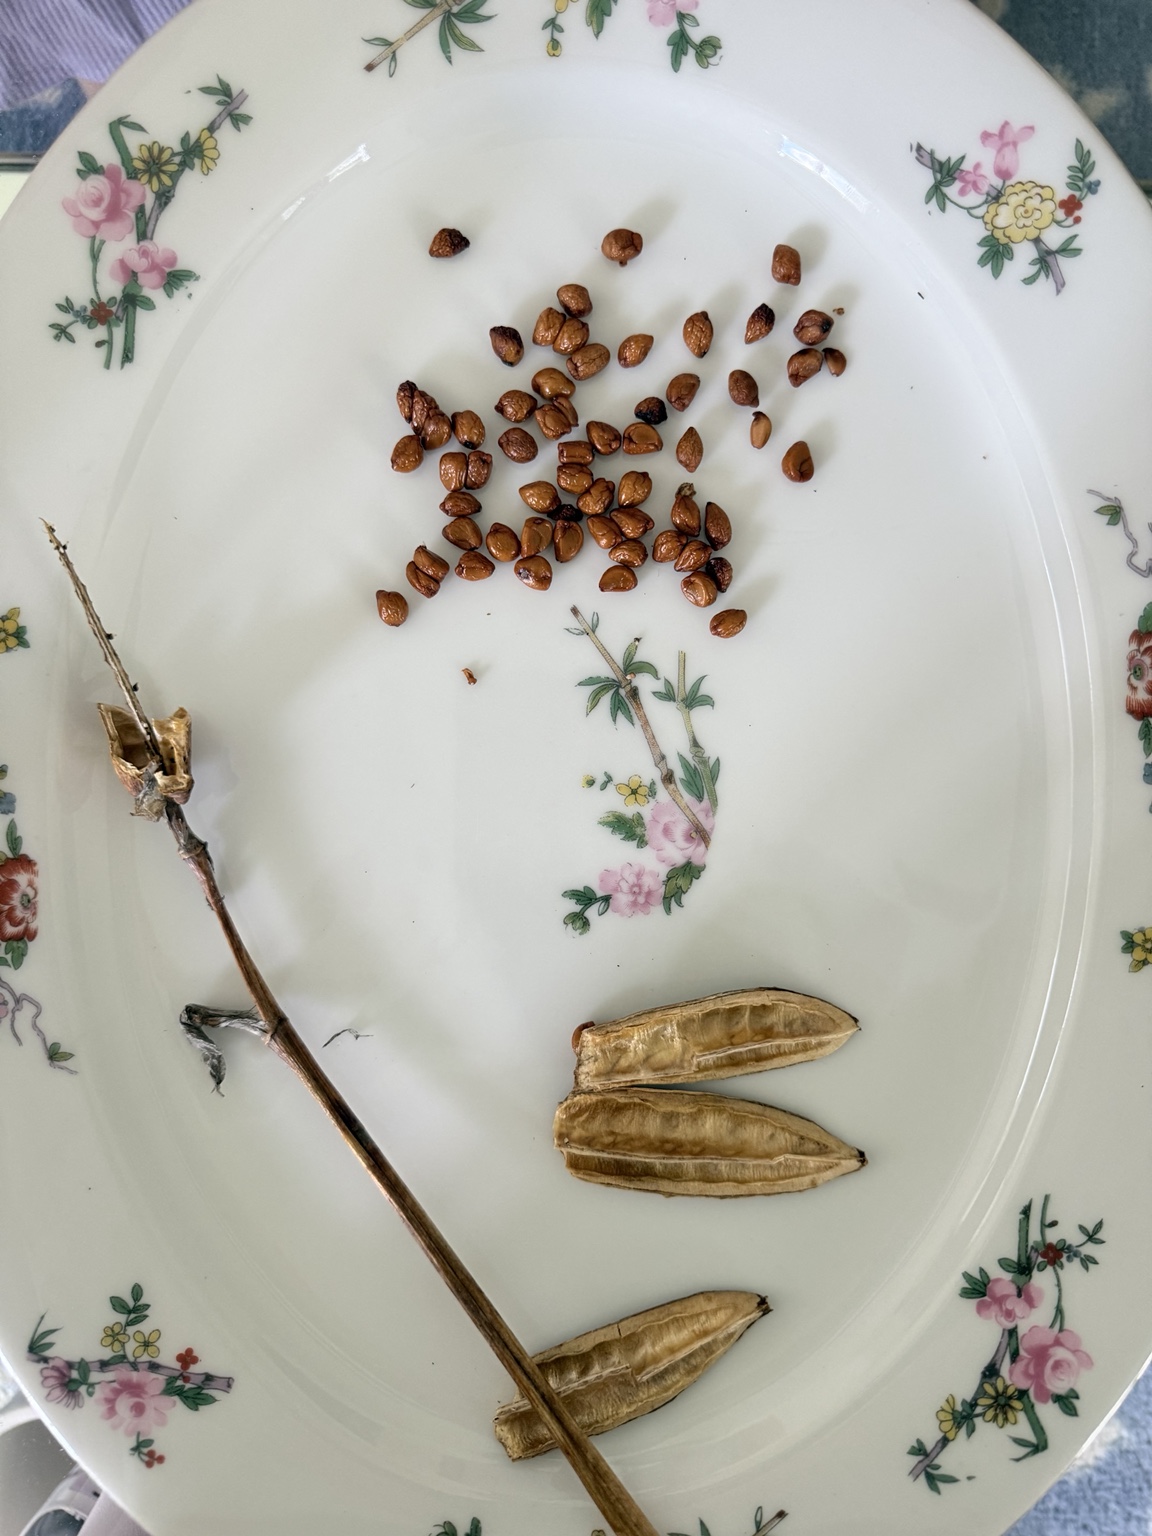
I waited until the iris pods were brown and dry, then opened them and separated the seeds from the papery pod. Some pods held only a handful while others held many more.
The experiment
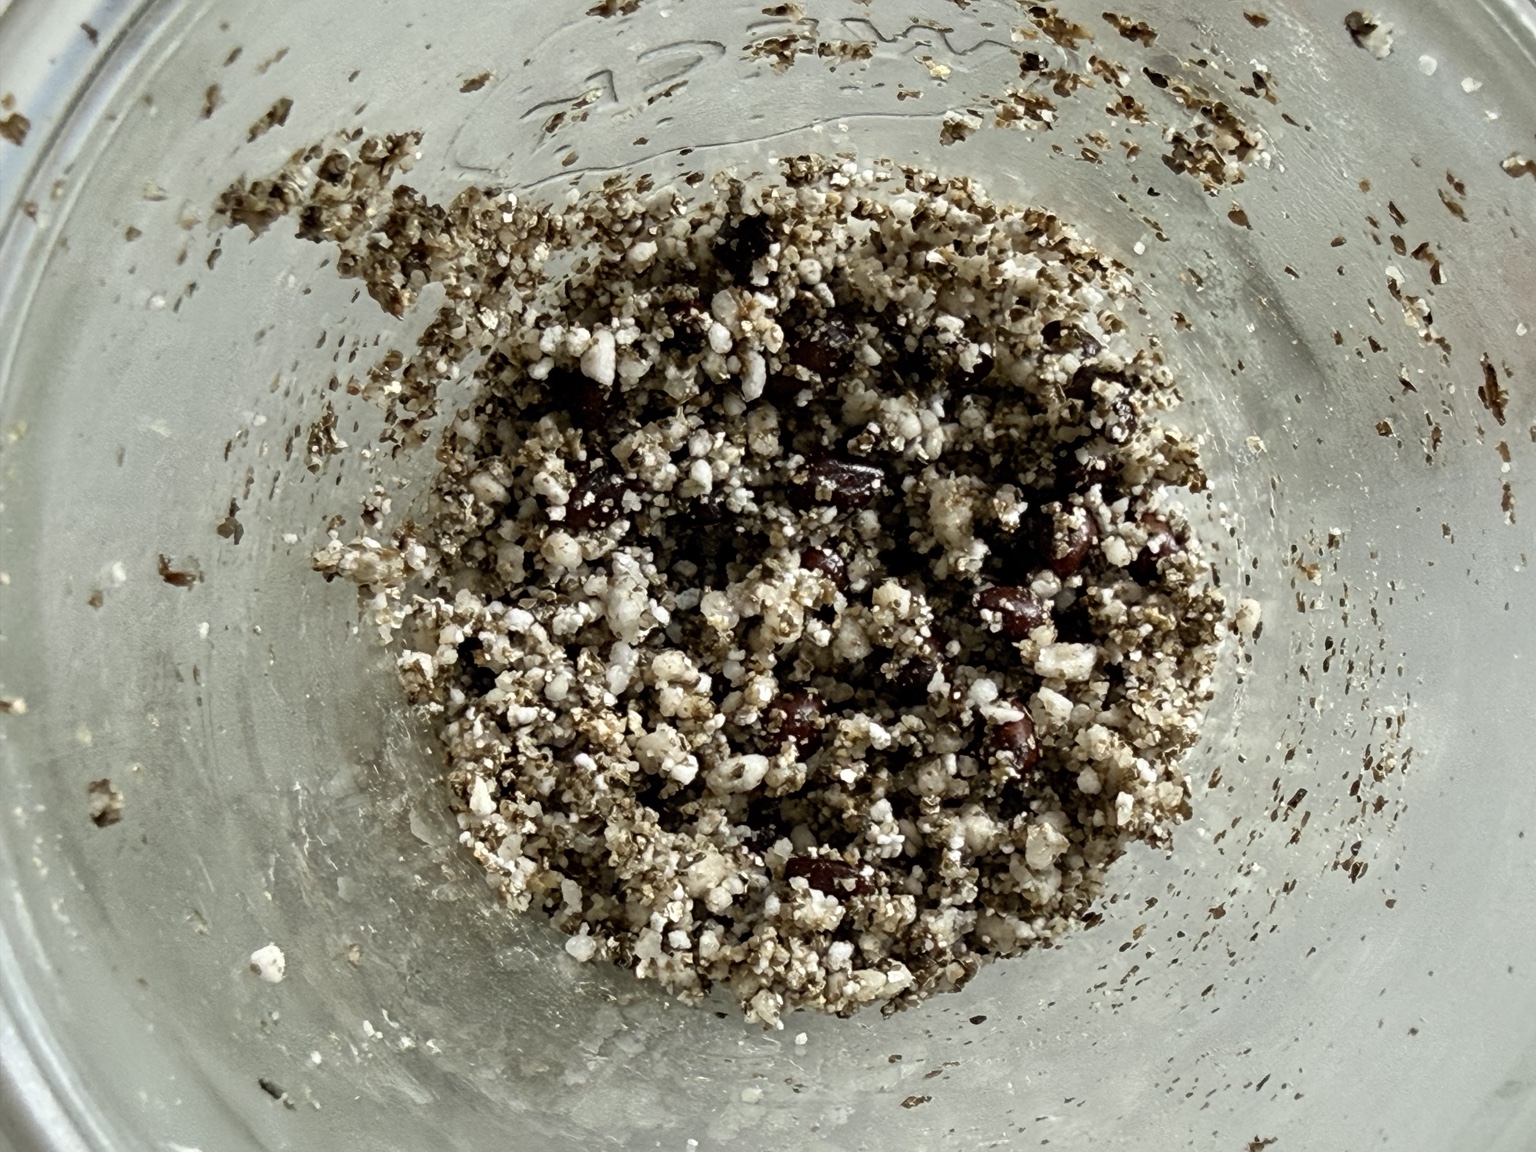
A moist perlite and vermiculite mix
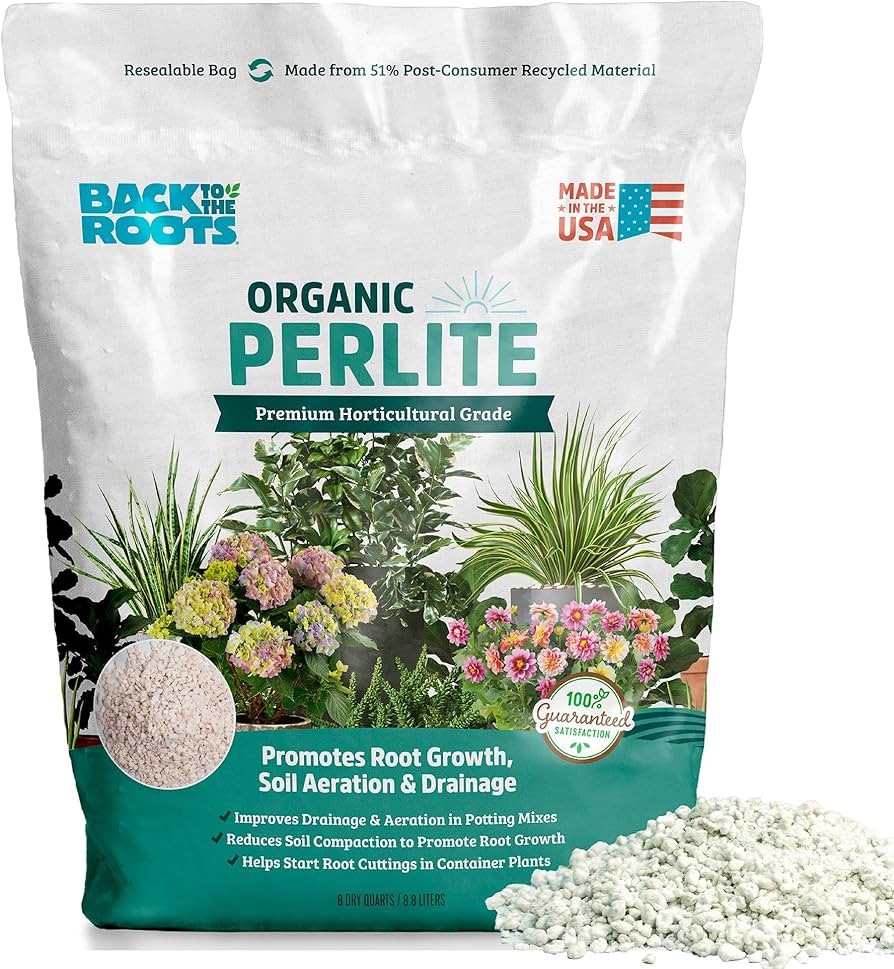
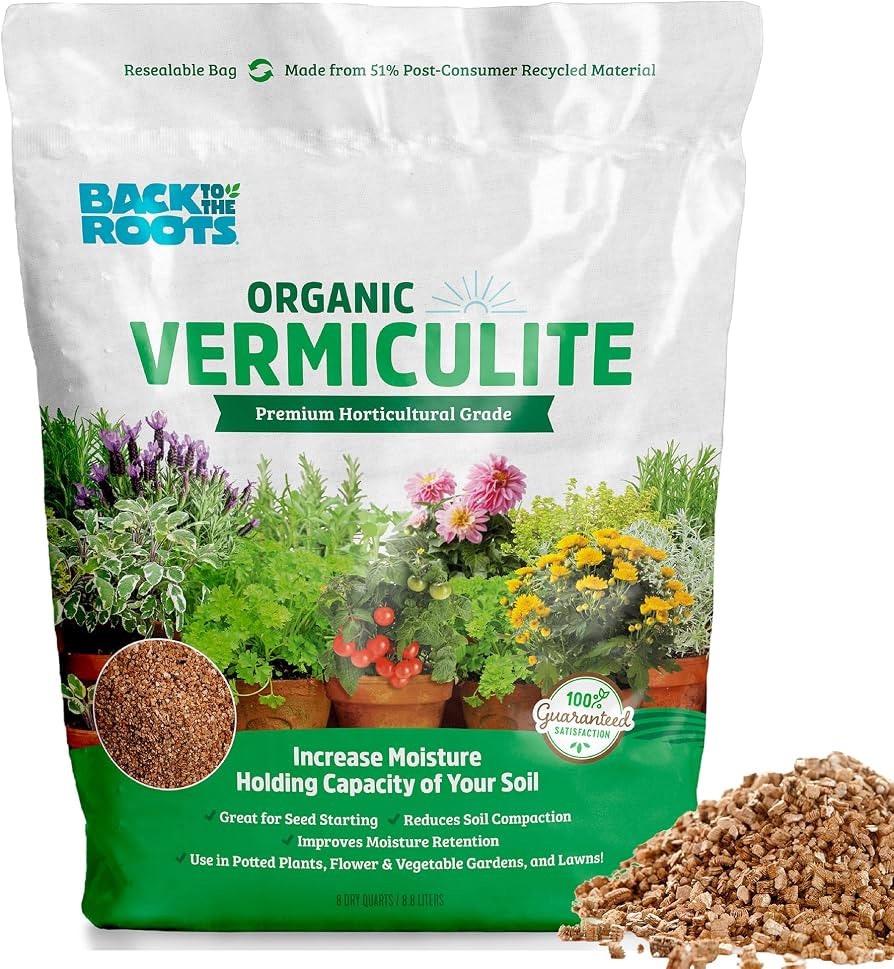
I combined perlite and vermiculite, moistened the mixture and worked the iris seeds through it so they were surrounded by the damp medium. I wanted the mix moist, but not sitting in water.
This is the method I’m testing with this batch, not a promise of germination. Iris species and varieties can have different dormancy needs.
The setup
What I Used
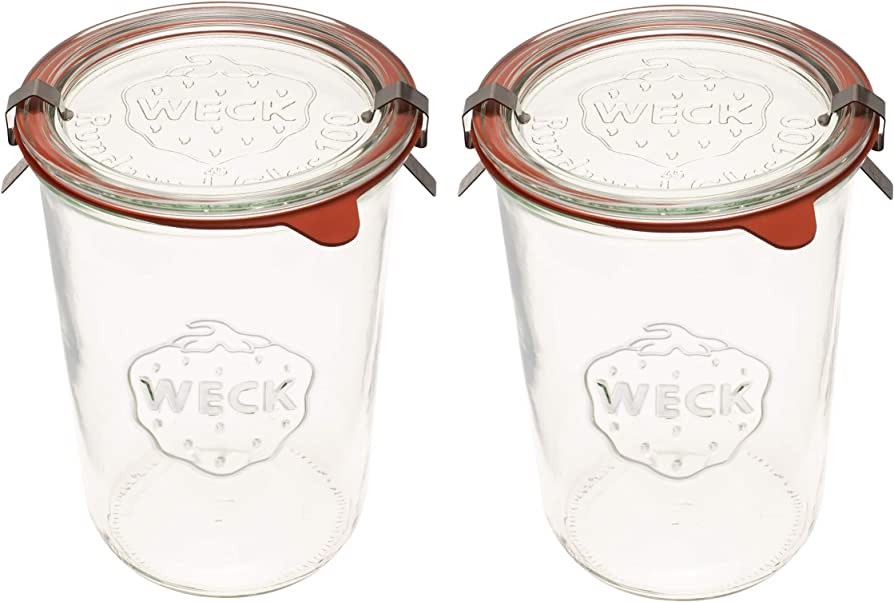
These are the three items I used for collecting and starting this batch of iris seeds.
Affiliate disclosure: I may earn a commission if you purchase through these links, at no additional cost to you.
Cold, moist period
Into the refrigerator for up to three months
The container is going into the refrigerator for up to three months. This cold, moist period is often called stratification. I’ll check the mixture periodically so it remains lightly moist and watch for mold, drying or any early signs of germination.
Next observations
What I’m watching for
I’ll look for changes in the seeds, keep an eye on moisture and note whether any mold develops. When I remove the seeds from the refrigerator, I’ll record how they look, how I plant them and whether any eventually germinate.
Experiment log
Iris seed updates
Seeds collected and placed in the refrigerator
I opened the dry pods, separated the seeds and mixed them into moist perlite and vermiculite. The cold-stratification stage has started.
I’ll add the date, photos and observations when I check the seeds or move them on to planting.